Using Git and Github for version control and collaboration.
Objectives
- Set up Git to keep track of changes to code for collaboration purposes.
- Create a Github pages repository and use Markdown to create a simple templated professional website.
- Use Git to publish your work on Github to share in the Public Domain.
Glossary of terms:
- init - Initialize a directory with git version control, so that all changes will be recorded and backed up.
- add - The git add command adds files or folders to a git repository.
- commit - Stage all files in the local repository with appropriate version information stored.
- push - The git push command is used to upload local repository content to a remote repository. Pushing is how you transfer commits from your local repository to a remote repo.
- pull - The git pull command is used to fetch and download content from a remote repository and immediately update the local repository to match that content.
Step 1 :Installing Git
- Navigate to github.com and create a user account.
- Install git as follows:
On MAC: First, check whether git may already be installed
~~~
git --version
~~~
On Windows: Git is available as a stand-alone binary, including a unix-like Bash shell. Go to https://git-scm.com/download/win and download the install binary.
NOTE: Use all the default choices.
- Update the global config with your username and email. This is necessary to complete the git commit and git push commands.
$ git config --global user.name
$ git config --global user.email
NOTE: When you push content to github for the first time, you will be prompted for your password or access token (see below).
Step 2: Set up your github account and github pages repository.
- Navigate to this repository template and fork it.

- Click on the repository settings and change the name of the repository to
.github.io

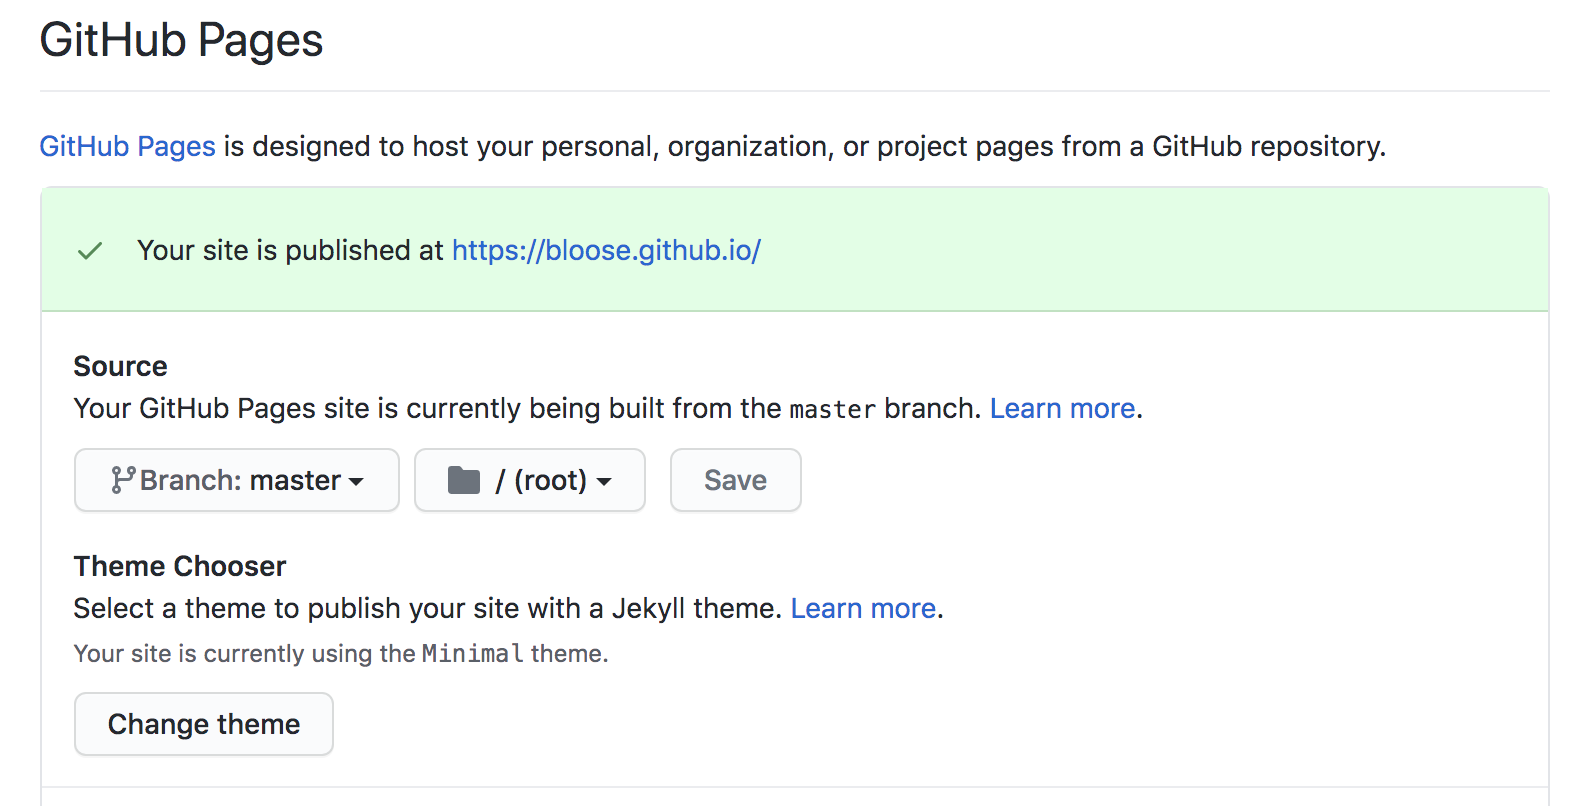
- Scroll down to the Github pages section and select the
masterbranch as the site where your gh_pages will be built from.

- Copy the https://github.com/[your_username]/[your_username].github.io.git URL to your clipboard in preparation to clone the repository to your local computer.
Step 3: Clone your repository to work locally.
Use the git clone command to make a local copy of your repository that you can modify and push. First, create a directory in your users folder where you will store your repositories.
]$ cd ~                 # Change to your home directory
]$ mkdir git_repos/     # Make folder to organize all your repositories
]$ cd git_repos/
]$ git clone https://github.com//.github.io.git   #this should be copied from the code dropdown.
]$ cd .github.io     # Change into the directory you created.
If you navigate your browser to https://[your_username].github.io you should be served up a copy of the templates with the Joker head shot. Now you need to modify with your info.
Step 4: Modify files to make the templates your own.
Use nano or a text editor to open and modify the left sidebar contents contained in _config.yml. Note, you must use html code in _config.yml, it does not recognize markdown.
- Add your name.
- Change the title information
- Add a headshot image to the /images folder and copy the name into _config.yml in place of joker_logo.png.
Use nano or a text editor to open and modify the body contents contained in index.md. Here, you can edit in Markdown.
- Use markdown to add some Bio information.
- Add details to Education, Work Experience, and Projects, or change these categories as you choose.
Step 5: Add, commit, and push your changes to the git version controller and to Github.
First, let's create a directory in your users home folder for our work and then move into that directory:
$git add --all                  # Add all the modified files to the staging for commit.
$git commit -m "some updates"   # Commit the changes to version control; include a short description of the changes.
$git push -u origin master      # Push the changes to the remote repository on github.  You will be prompted to login.
NOTE: You should be prompted to authenticate or enter your git username and password when you use the git push command. These credentials will be stored the first time that you do it so you don't have to log in every time. However, you must enter them the first time. NOTE: Github no longer uses your password for authentication; instead you have to download an authentication token. Instructions for that are here:
Username: your_username
Password: your_token
ALSO: git init will create the local repository inside the folder titled .git/
Check to see if it's there:
$ ls -a
Git uses this hidden folder to store all the info and versions of this folder.
If .git subdirectory is deleted, we will lose the project's history. Check the contents:
$ ls -a .git/
.		COMMIT_EDITMSG	HEAD		branches	description	index		logs		packed-refs
..		FETCH_HEAD	ORIG_HEAD	config		hooks		info		objects		refs
$ git status
On branch master

No commits yet

nothing to commit (create/copy files and use "git add" to track)
Step 6: What to turn in.
Make a nicely formatted and accurate version of your Github developer page. Paste the link into the in-class assignment box and upload it, so I can have a look.
If you already have a Github pages site, you can still clone the site onto your local computer. You don't need to change your gh-pages template if you already had one. Just send me the URL to your developer page on Github.