Remote computing at the Unity cluster.
Use the documentation to supplement this guide
Objectives
- Learn basic unix shell navigation and commands. (Did on Nov. 5)
- Set up computing environment for Python on the Unity cluster.
- Use file transfer to upload/download files from the remote environment, including Python (.py) scripts and image files (.jpeg, .png, .tif).
- Practice basic tasks at the Unix command line.
- Set up the environment for a parallel computing exercise
+We will compute the NDVI Normalized Distributed Vegetation Index using LANDSAT satellite imagery from the bands. Check out the details at the above link.
Step 1: Log in to Unity.
Your user account and password was created when you requested an account at unity.uri.edu.
These should be something like:
Name: first last name
Login: firstinitiallastname_uri
Password: whatever_you_specified
To access the HPC, we will use the Unity On Demand service via web browser.
- In your browser type in:
$ https://ood.unity.rc.umass.edu/
- Choose your institution and follow the steps to log in.
If this connection is successful, then you can proceed to setting up your Python environment in the next step.
NOTE: The Oscar Unity environment uses PyModules to let the user customize their work environment and even install software via conda or pip. Type ]$ module available to see what's available.
Step 2: Set up the working environment.
- [Do this only once] Once you have loaded the Anaconda module, you need to install the Python libraries that we will use. This command creates an Anaconda programming environment called
your_env_here. You will need to activate this environment every time you log in.
$ module load conda/latest
$ conda create -n [your_env_here] python=3.9 dask mpi4py scikit-image matplotlib
$ conda activate [your_env_here] # Activate your environment before installing landsatexplore using pip.
- [Do this every time you log in] Unity uses modules; modules can be loaded with the load command. You will load them every time you log in.
$ module load conda/latest
$ source activate [your_env_here]
At the end of the session when you log out, you can enter source deactivate to end the Anaconda environment.
RECAP:
The next time you log in, you won't have to carry out the installation steps. you will just execute the following command sequence.
$ module load conda/latest
$ conda activate [your_env_here]
Step 3: Follow this Unix tutorial on navigating around the directories, creating files, etc.
Also check out Unix shell commands to better understand how to use the command line tools. https://maker.pro/linux/tutorial/basic-linux-commands-for-beginners. You will likely need to use the Unix commands sudo, cd, rm, mkdir, ssh, sftp, and nano.
Step 4: Transfer your .py files by OOD's web-based file manager.
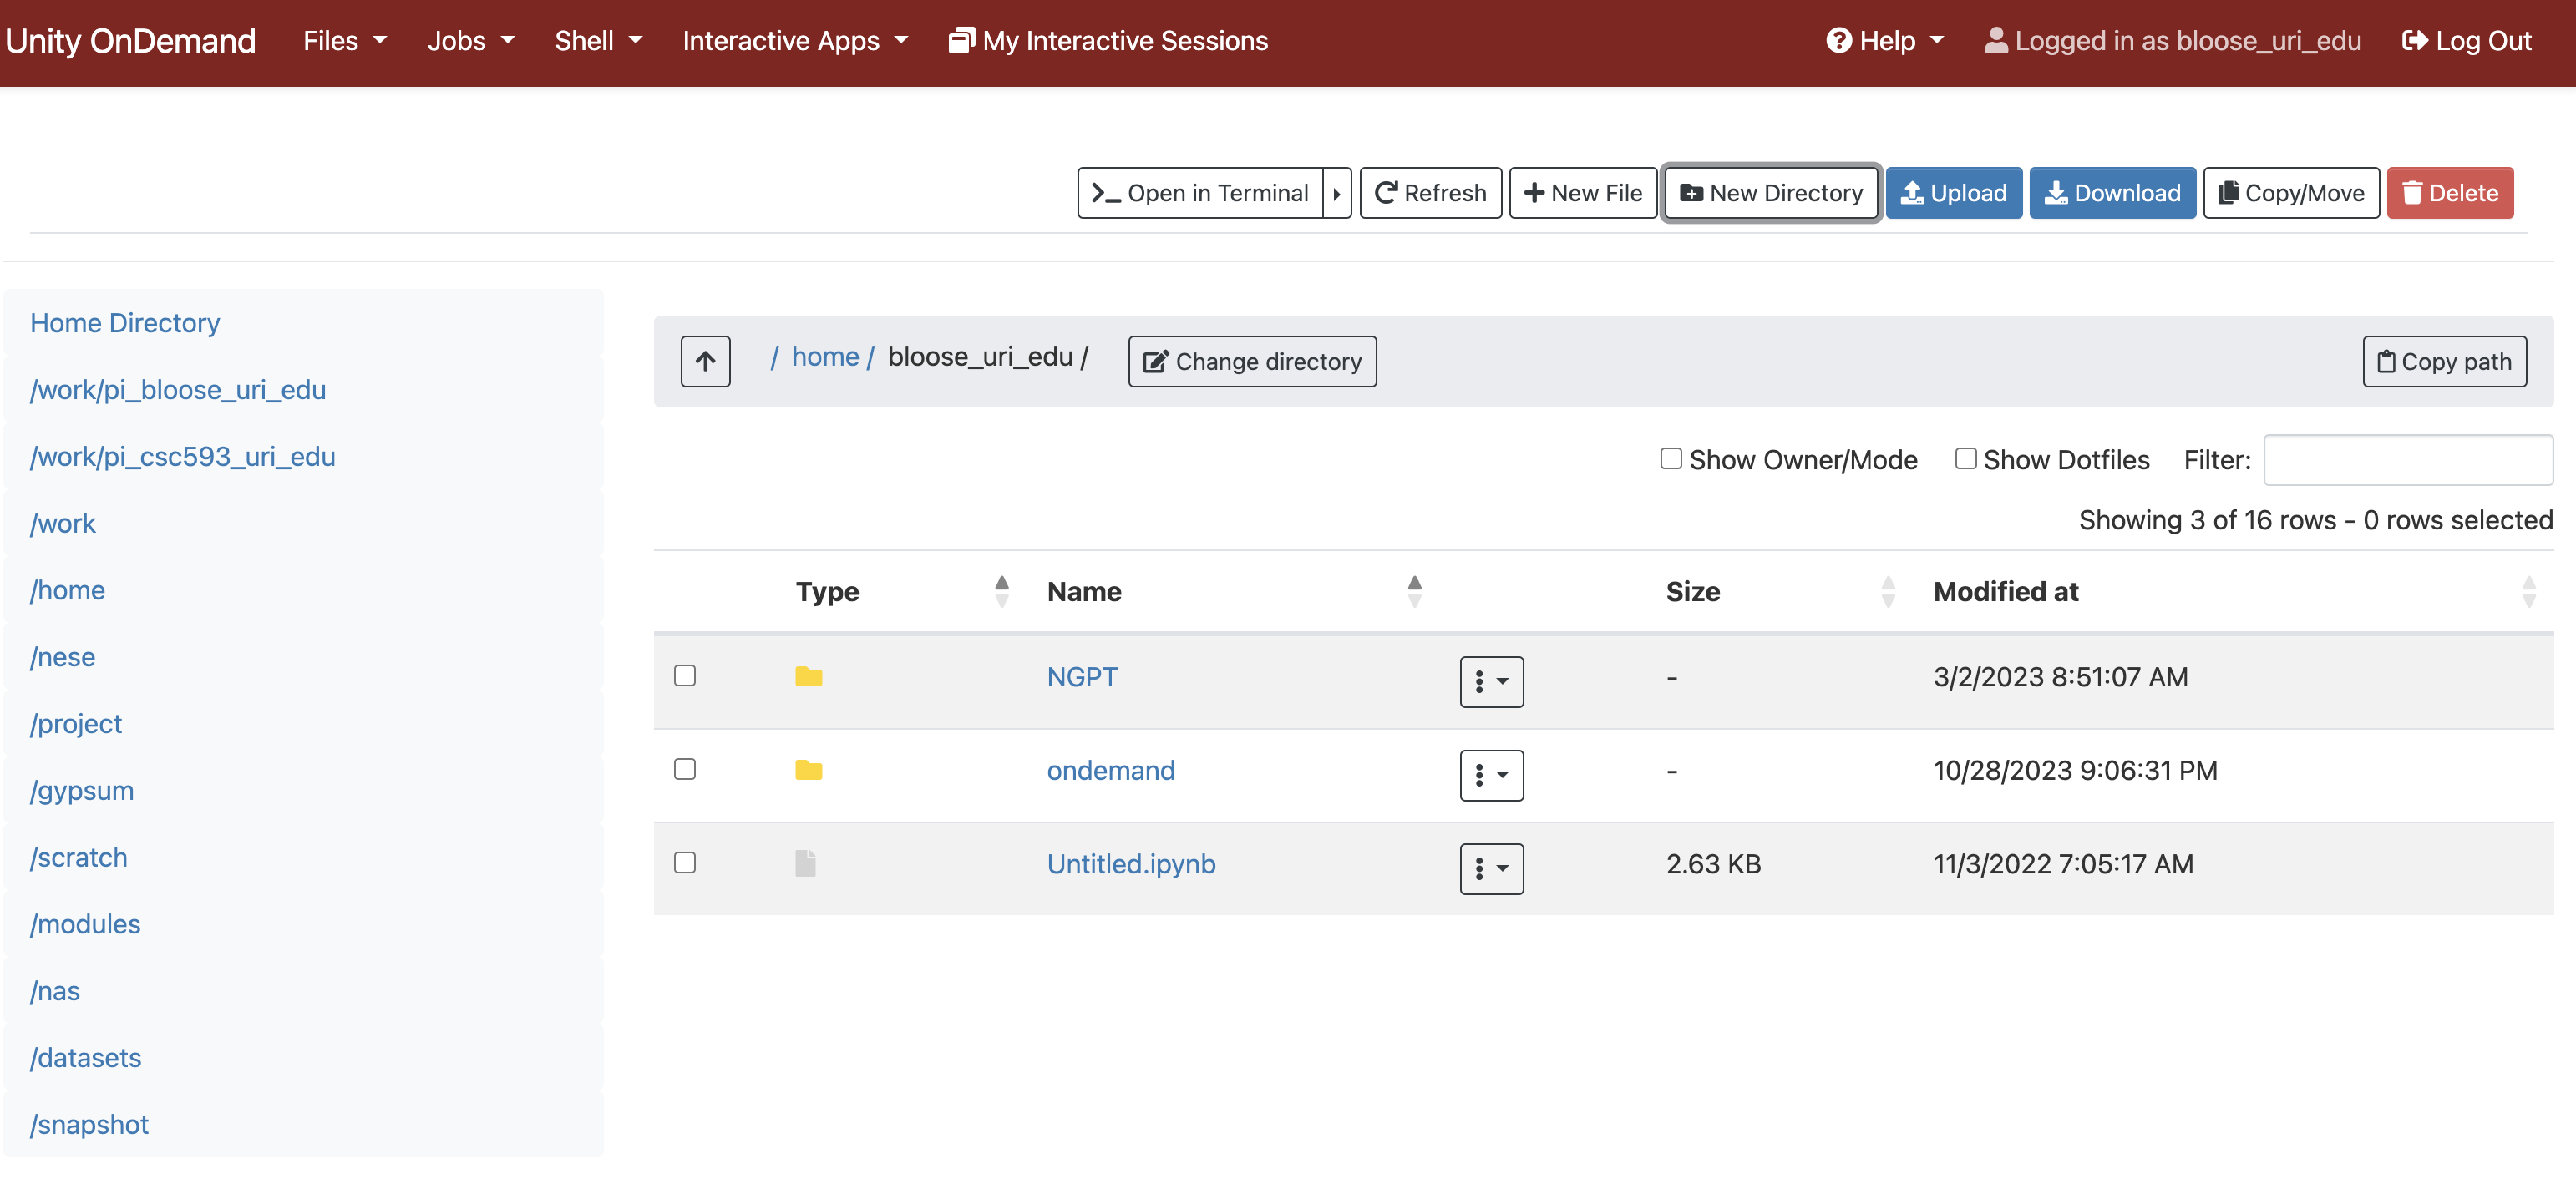
- Choose Files-->Home Directory from the top menu in Unity Open On Demand.
If you haven't already, make a directory in your Unity home folder entitled ocg404. This directory should be inside your /home/your_username.
You can do this at the Shell:
]$ mkdir ocg404
Or you can create the folder from within the OOD file manager that you opened above with Files-->Home Directory.